Welcome to Dampers 104. In this blog, we will discuss damper location and installation. Where are your dampers going in your building? What will the area around the damper look like? How will you be installing them? Let’s learn how to answer these questions.
If you’re interested in learning more about dampers, then check out our other blogs in the Damper 100 series:
- Dampers 101 – What is a Damper?
- Dampers 102 – Efficient Airflow
- Dampers 103 – Designing Airflow Dampers
The first question will help you decide the types of dampers you need. What is the project?
Project – Commercial? Industrial?
Are your dampers for a commercial project, like an office building or a retail store? Commercial projects will need standard control and balancing dampers. This includes dampers made from extruded aluminum and galvanized steel. These dampers will handle
If your project is industrial, like a factory or a power plant, then you will need dampers made from heavier materials. Look for dampers made from fabricated steel or a similar metal for the intense airflow requirements of these projects.
Are you building a project with specific requirements, like clean rooms? You will need isolation dampers.

These questions help narrow down your search to the dampers that work for your project’s needs. It’s important to understand the requirements of the project before you choose dampers. Otherwise, you may choose dampers that won’t work.
Clean rooms need precise control over airflow. The system will carefully filter and control air in these areas. A standard damper may work in different areas of the system, but you will need an isolation damper to seal these rooms off from the rest of the building. Isolation dampers ensure near-zero leakage when the damper is closed.
Understand your project and its needs before you browse. Know the specifics of your project. Each application will need a unique damper. Determine the expected air velocity through the duct and the average static pressure. This will help you choose a damper that works with that application.
The next consideration will be how you install the dampers.
Installation – On face? In duct? In wall?
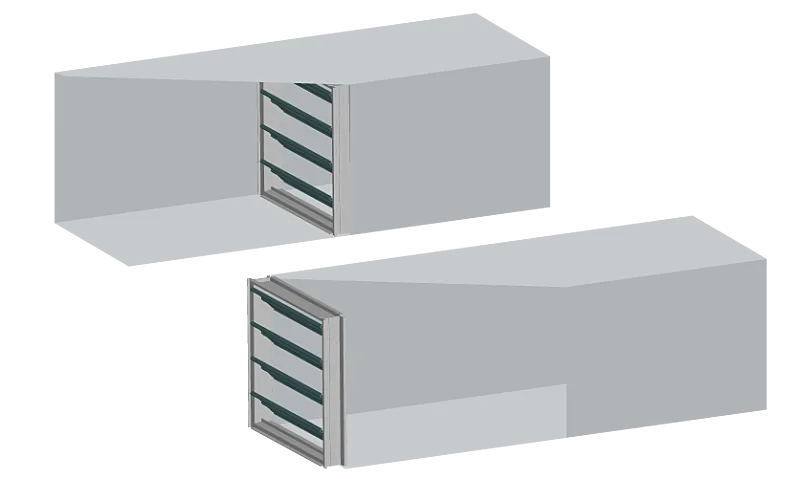
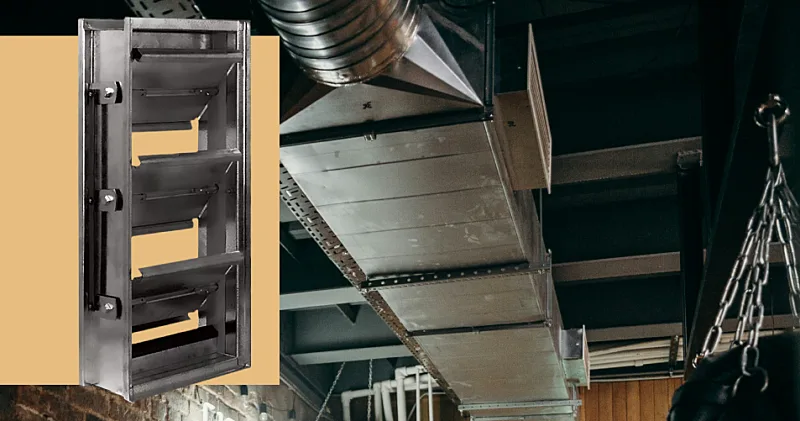
Dampers are typically installed inside ductwork. This minimizes leak points in the duct, but it also places the entire damper in the air stream.
Installers must apply caulk around the damper's perimeter after fastening it to the duct. This ensures that there is no space for air to pass by the damper when it’s fully closed.
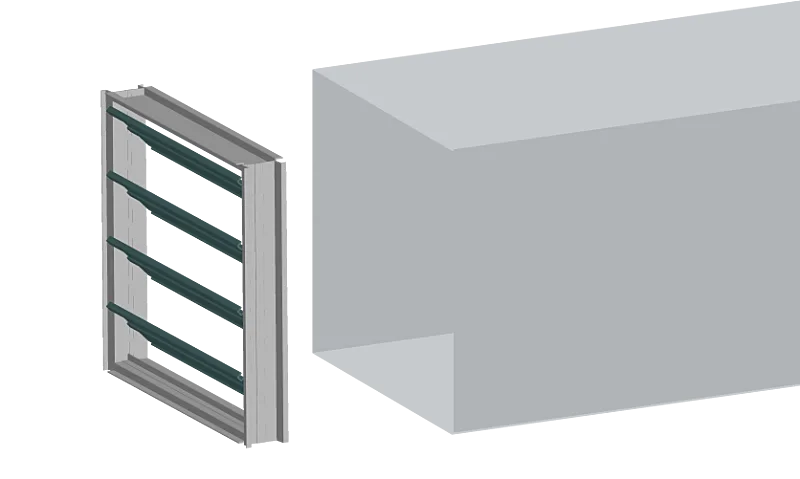
You can also choose an “on face” installation, where each side of the damper connects to the duct. This ensures that only the damper’s blade will be in the airstream.

On-face installation requires additional support when installed, so that it stays in place during regular operation. Installers use caulk to seal any cracks between duct and damper. Technicians will replace the caulk when they remove the damper from the duct for maintenance.
They will also need to maintain this seal through the life of the damper, or risk creating leak points around the damper's frame. Naturally, these leaks will lower system performance.
Dampers can also be installed inside wall openings, like a louver. This can provide flow control at the source of airflow, or at a place where ductwork passes through a wall. Like a duct, you can choose between installing the damper inside of the opening or anchoring it to the wall over the opening.
From there, you can also choose between in-duct or on-face installation. Similar considerations will apply for openings.

When mounting the damper on face, you will need anchoring fasteners to keep the damper in place. These fasteners will need to bore through the substrate of the opening. This is also true for in-opening installations. Fasteners will anchor the damper, regardless of the opening's material, be it wood, concrete, or masonry.
Installers will apply caulk to the perimeter of the damper for an in-opening installation once they fasten it to the opening.
Location – Clearance? Duct configuration?
Where will the damper go? This question can help you determine which installation type to use. On-face installations provide easy access to the damper for cleaning and maintenance, assuming there is adequate clearance around the damper.

Maintenance workers need room to safely remove the duct and service the damper. This is also true for in-duct installations. It helps to make space around the damper, but you won’t always get this option.
If space is tight around the installation area, then you may want to go with an in-duct installation. You should also consider how technicians will maintain accessory parts, like the damper’s actuator.
In Damper Design Q&A, we mentioned that actuators can be attached to the sides of the damper or to its face. The location of the actuator should complement the damper's installation method.
It is much easier to access an actuator installed on the damper’s jamb when the damper is installed on face. Technicians will still need to safely remove the duct to ensure the damper and actuator are working properly.
If you go with an in-duct installation, then you may want an on-face actuator for easier access. You will have several options to think about.
Applications – Each Is Different
Your building will have multiple dampers across various locations. Each location will be different. Some areas may have plenty of clearance, others may be a tight fit.
Understand where each damper will go, so that you can make better decisions when selecting dampers.
Dampers by AWV
AWV builds dampers for commercial and industrial projects. We offer control and balancing dampers, as well as isolation dampers, tunnel dampers, and more. We have what you need for your air control needs. Start your next project with us. Contact AWV today.


